Google Search

Custom Search

Powered by...

Find us on Facebook

Friday 6 June 2014

XBMC Security CAM Overlay add-on – UPDATE / PART2

I’ve written about this great XBMC add-on previously here, however I have just updated two of my HTPC’s to OpenElec Gotham and have done a little more work with this add-on so thought it was worth writing an updated blog post about it all.  You can find the Security CAM Overlay add-on thread here on the XBMC forum.

So what’s new for me in Gotham and with this add-on? I wanted to add a second IP security camera, the add-on at the moment only allows you to add one IP camera, however you can do a little hack and modify some of the add-ons files to effectively make it in to two different add-ons or more. One instance of the add-on for each IP camera you wish to add in to XBMC.

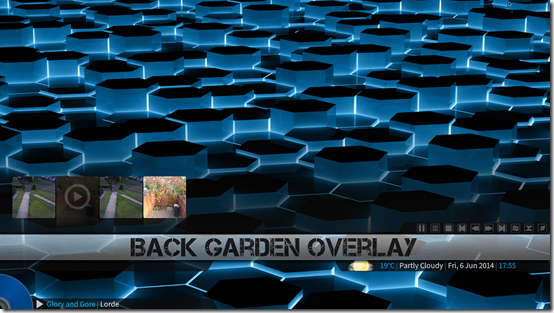
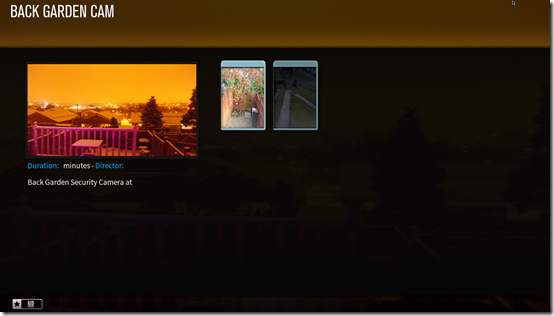
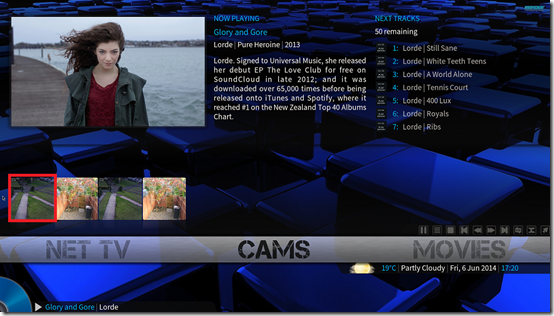
Also I have customised my Aeon MQ5 skin and added a CAMS menu so I will throw up a few screen shots of that as well.

Creating the Security CAM Overlay add-on instances

OK here is how I got two IP cameras in to XBMC with the Security CAM Overlay add-on. First you need to download the latest version from this link and select Frodo or Gotham version. The downloaded file is called script.securitycam.zip extract this in to a folder called script.securitycam. I am using Winrar.

image

Look inside the script.securitycam folder there is a file called addon.xml edit this in a text editor.

image

I ended up with two instance of the Security CAM Overlay add-on, one for my front garden CAM and one for my back garden CAM, so I called the first instance “Front Garden CAM”

image

Change the name of the add-on.  “Front Garden CAM”

image

Also change the add-on id= from script.securitycam to something else, I named it “script.frontgardencam”
save and close the file.

image

Now edit the default.py file in the text editor
image

On this line: ADD_ON_ID =

Change the script.securitycam to the same thing as you named it in the addon.xml e.g. in my example its: script.frontgardencam

image

Save and close the edited file

image

Changing the add-ons icon image

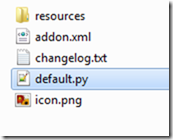
If you plan to add the Security CAM Overlay add-on instances to a menu in XBMC, then I recommend you change the icon.png file to a screen grab of that particular IP camera.
image

Unless you want all your IP cameras to have this default icon ?

image

image

You should size your new icon.png file to 191x186

Now rename the folder script.securitycam to the same name e.g. script.frontgardencam

image

image

Now you need to ZIP up the script.frontgardencam folder into a zip file called script.frontgarden.zip
With Winrar installed I just right clicked the folder in Windows Explorer and from the menu I selected Add to Archive.

In Winrar I then selected ZIP rather than RAR and clicked OK.

image

I now have an add-on called script.frontgarden.zip that I can install in to XBMC.

image

I then repeated this whole process again to create a second instance of the Security CAM Overlay add-on called script.backgardencam

image

Installing the add-ons
XBMC Settings – Add-ons – Install From Zip File
Then browse to the folder where you put your two new zip files (hopefully some where your HTPC can access).

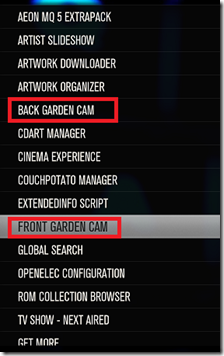
On this screen shot of XBMC you can see the two add-on instances I just created and I can select them from here to install them etc.

image

Once they are installed they will be listed in the Programs add-ons area of XBMC. You then configure the add-on as you normally would, entering the URL to your IP camera and user name and password, only you now need to do this in each instance of the Security CAM Overlay add-on for each IP camera etc.
image

Tip: For a Foscam camera I used this URL in the add-on settings and left the user name and password fields blank. The Foscam camera image loads faster if you do it this way.

http://xxx.xxx.xxx.xxx:port/snapshot.cgi?user=username&pwd=password&count=0

Micasaverde Vera Home Automation

If you are using Vera you can get Vera to tell XBMC to bring up an instance of the Security CAM Overlay add-on by using code such as below, in your Vera scenes.

Where 192.168.1.10 is the IP of the XBMC PC and 80 is the XBMC Webserver Port number. 

http://192.168.1.10:80/jsonrpc?request={"jsonrpc":"2.0","method":"Addons.ExecuteAddon","params":{"addonid":"script.frontgardencam"},"id":"1"}}

http://192.168.1.10:80/jsonrpc?request={"jsonrpc":"2.0","method":"Addons.ExecuteAddon","params":{"addonid":"script.backgardencam"},"id":"1"}}

So when someone presses my Z-wave enabled doorbell, my doorbell scene in Vera calls the script.frontgardencam add-on to bring up that cameras image in XBMC.

XBMC Aeon MQ5 Skin

Using the Aeon MQ5 menu customisation feature, I added a new main menu item called CAMS and added in both the Security CAM Overlay add-on instances.
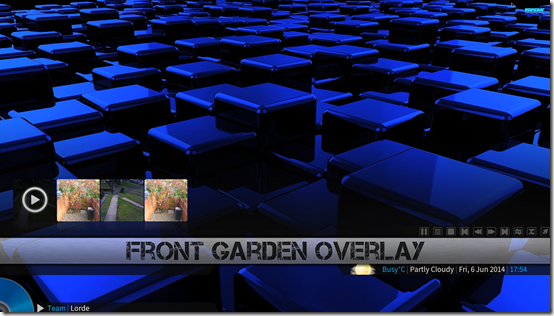
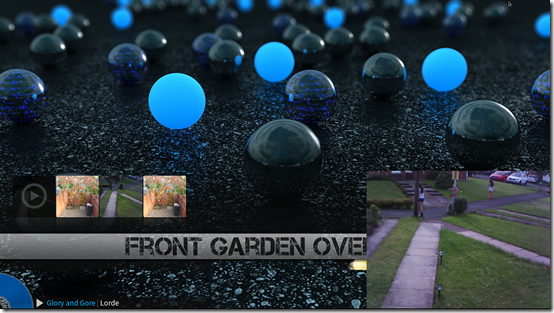
image

image

image

I also created some .strm files for my IP cameras and some custom .nfo files to add them in to the Movies library, I then added them to favourites and in-turn added these favourites to the CAMS menu. When I click on these, I get a full screen live stream from the IP camera etc. Exactly how I did this is for another blog post maybe?
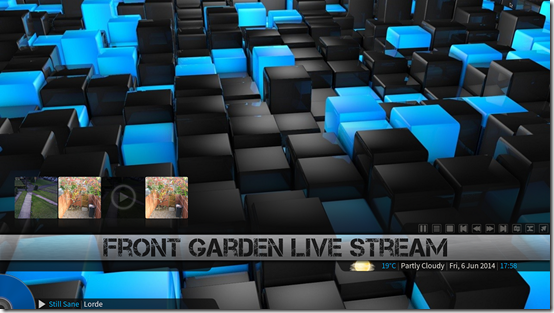
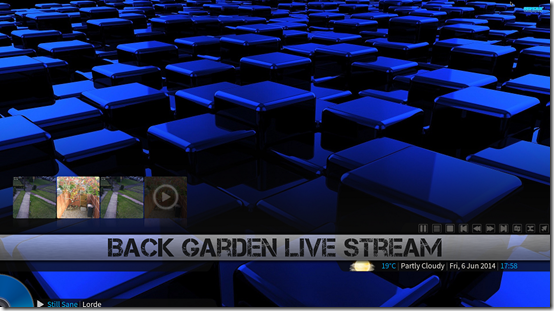
image

image

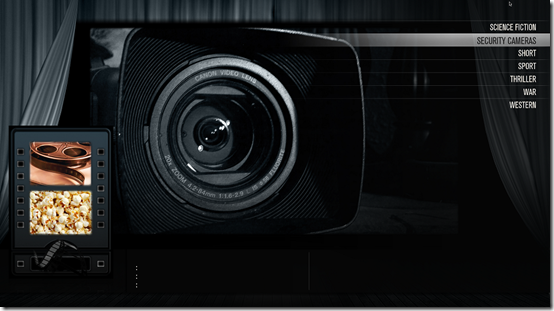
Movies Library – Genres - Security CAMS
image

image

Summary

Get tweaking and get your other IP Security cameras in to XBMC using new instances of the Security CAM Overlay add-on!

XBMC OpenElec / Logitech Harmony / Micasaverde Vera integration – PART2

In part one here I demonstrated my method of using a Logitech Harmony universal remote control to send keyboard shortcut commands to my XBMC PC. The XBMC PC then runs a python script to send a http request to Vera the Home automation controller, to do something like turn on / off lights or to control a device in my home.
In Part 2 I am adding some feedback in to the XBMC user interface. For example if the light or device you want to control is not in the same room as you, you don’t really see any feedback that the script file has been run? and that the light or device has been controlled?

To try and eliminate this lack of feedback somewhat, I will be demonstrating adding XBMC pop-up notifications upon each run of the python scripts.

I’d like to thank @Montellese on the XBMC forum, for his assistance with the Unicode stuff and for pointing me in the right direction for getting this working.

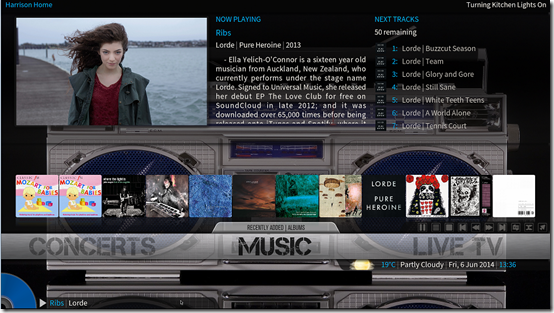
To give you an idea what I am talking about, here are some screen shots of the pop-up notifications in XBMC.

“Harrison Home” is the title and “Turning Lounge Lights On” is the message

image

image

image

OK so now you get the idea if you’d like to add this functionality we need to edit our python script files that were created in part 1.

But first ensure you have the web server turned on in XBMC or you wont be able to send the notifications to your XBMC PC.

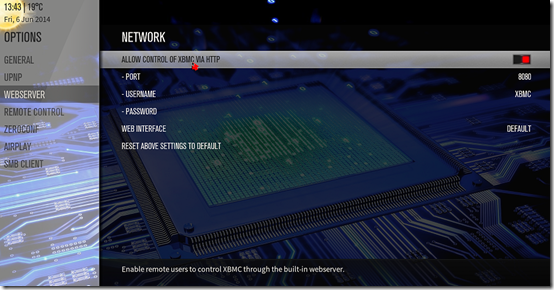
Go into XBMC Settings – Network – Webserver and ensure it is enabled and also make a note of the port number, I changed mine to 8080. The username is XBMC and I have not set any password.

image

You also need to know the IP address of your XBMC PC? I recommend you set a static IP address on your XBMC PC.

I also recommend using Notepad++ text editor as these http commands for the XBMC notifications needs to be in Unicode so we can run them using curl in the python script file.

Open your first python script file to be edited

Below is my Lounge-On.py file, you can see on line 3: I have the http command which is sent to Vera to turn on the lights this was created in part 1.
We need to add a new line of code (line 4) into our python script file, to also now send a popup notification to the XBMC PC as well.

So we need to construct the line of code to send the popup to the XBMC PC and this is done in two parts.

The first part of this line is always the same and can be seen below. We’ll say the IP address of my XBMC PC is 192.168.1.10 and the webserver is on port 8080

Line #4 – First Part
proc = subprocess.Popen(["curl", "http://192.168.1.10:8080/jsonrpc?request="])

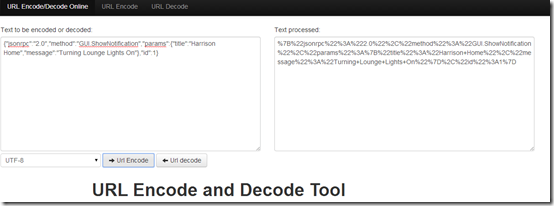
The second part of the line is the bit that needs to be encoded into Unicode and we will use a website to assist us with this: http://www.url-encode-decode.com/

image

Above is a screen shot of the website, on the box on the left enter this code:
{"jsonrpc":"2.0","method":"GUI.ShowNotification","params":{"title":"Your Title Here","message":"Your Message Here"},"id":1}
Change the Title and Message to suit your needs, select UTF-8 from the drop down list and then click the URL Encode button.

Then on the box on the right we get the encoded string that we need.

Line #4 – Second Part
%7B%22jsonrpc%22%3A%222.0%22%2C%22method%22%3A%22GUI.ShowNotification%22%2C%22params%22%3A%7B%22title%22%3A%22Harrison+Home%22%2C%22message%22%3A%22Turning+Lounge+Lights+On%22%7D%2C%22id%22%3A1%7D

Now we need to combine the first and second parts of the Line #4 in our python script file.

proc = subprocess.Popen(["curl", "http://192.168.1.10:8080/jsonrpc?request=ENTER-ENCODED-STRING-HERE"])

The fully combined line of code will then look like this:
proc = subprocess.Popen(["curl", "http://192.168.1.10:8080/jsonrpc?request=%7B%22jsonrpc%22%3A%222.0%22%2C%22method%22%3A%22GUI.ShowNotification%22%2C%22params%22%3A%7B%22title%22%3A%22Harrison+Home%22%2C%22message%22%3A%22Turning+Lounge+Lights+On%22%7D%2C%22id%22%3A1%7D"])

So now the fully completed Lounge-On.py script file looks like this:
#!/usr/bin/env python
import subprocess
proc = subprocess.Popen(["curl", "http://192.168.1.100:3480/data_request?id=lu_action&serviceId=urn:micasaverde-com:serviceId:HomeAutomationGateway1&action=RunScene&SceneNum=1"])
proc = subprocess.Popen(["curl", "http://192.168.1.10:8080/jsonrpc?request=%7B%22jsonrpc%22%3A%222.0%22%2C%22method%22%3A%22GUI.ShowNotification%22%2C%22params%22%3A%7B%22title%22%3A%22Harrison+Home%22%2C%22message%22%3A%22Turning+Lounge+Lights+On%22%7D%2C%22id%22%3A1%7D"])

Click the links to download my sample Lounge-On.py and Lounge-Off.py scripts to have a look at them.

All of this might sound a bit complicated but its actually pretty simple to create these new lines of code to also send a pop-up notification to your XBMC PC, once you have done it a few times.

Now you need to repeat this entire process and add a new line of code into each of your existing python script files you created in part one changing the pop-up notification message for each.

Now when I click these buttons on my Harmony remote control handset to turn on /off my lights or fireplace etc I also get a feedback notification pop-up being displayed in XBMC, so I know the python script has been run and can therefore safely assume that the light or device I wanted to send the command too via Vera has received it.


Summary

A neat little way of adding some feedback notifications to my Logitech Harmony / XBMC / Vera Home Automation integration project.

UPDATE:

I migrated from XBMC Gotham to Kodi Helix, there seems to be some differences with the notifications in Kodi.

For example now when Sickbeard auto sends a notification to Kodi I see the Sickbeard logo image next to the notification message, this never happened in XBMC.

Then if after this I run one of my Vera commands the Sickbeard logo is still being displayed next to my Vera notifications, I have no idea why its doing this?

A fix / workaround: So I thought maybe I should update my code a bit to include and display my own icon image.

The directory on my OpenElec HTPC where all these python scripts are located is:

/storage/.kodi/userdata/vera

So I just put an icon of a house image file in this directory. To have this house.png image displayed in the popup notification this JSON code seems to work:

{"jsonrpc":"2.0","method":"GUI.ShowNotification","params":{"title":"Your Title Here","message":"Your Message Here","image":"/storage/.kodi/userdata/vera/House.png"},"id":1}

I then had to encode it as per the instructions above before editing the python scripts to update them all with this change.

I am using a new Kodi skin called 1080XF but this is how the notifications now look with the new house image next to them.